
Building a low-budget ground blind for deer hunting provided an escape from the monotony of winter’s pandemic isolation, occupied my mind and hands with productive and interesting work, kept me out of the house and in the workshop for four days (an interlude in my grousing that was appreciated by my beautiful blonde wife), and taught me many things about construction projects using PVC pipes and fittings.

In general, the ground blind project was a success. The end product was a blind that should serve for a few years of bow and firearm deer hunting and wildlife observation on our North Country farm. But I could have built it better.
Now, there is no denying that I have a few obsessive-compulsive behavior characteristics and that I can, at times, be an annoying perfectionist. Ask any member of the Over the Hill Gang about my dog training regimen, equipment maintenance schedule, hunting trip preparations, footwear upkeep (I varnish my ash-and-rawhide snowshoes every spring), hunting and outdoor gear cleaning and repair (and those snowshoes are 40 years old and still in perfect condition!), and my attention to detail when hand-loading shotshells or rifle cartridges. They are likely to roll their eyes and silently think what only one of them (I won’t say who) has dared to state aloud: “Jeez, don’t get caught up in that tangled trap!”
It most certainly is not a tangled trap. It is a meticulously and painstakingly organized trap.
Be that as it may, there are some improvements that could be made to the prototype ground blind constructed last week. Not major flaws that need corrected, you understand, but some tweaks that would improve the end result. I intend to incorporate those modifications in the next ground blind project. Which will probably be next month, because what the heck else do I have on my agenda while we wait for our covid-19 vaccinations?
First on the list is size. The prototype ground blind is six feet in height and sets on a five-foot-by-five-foot base. The revised plan will be for a somewhat smaller blind.
The side panels will be four feet in length and about 24 inches in height. (The prototype side panels are five feet in length and about 30 inches in height.)
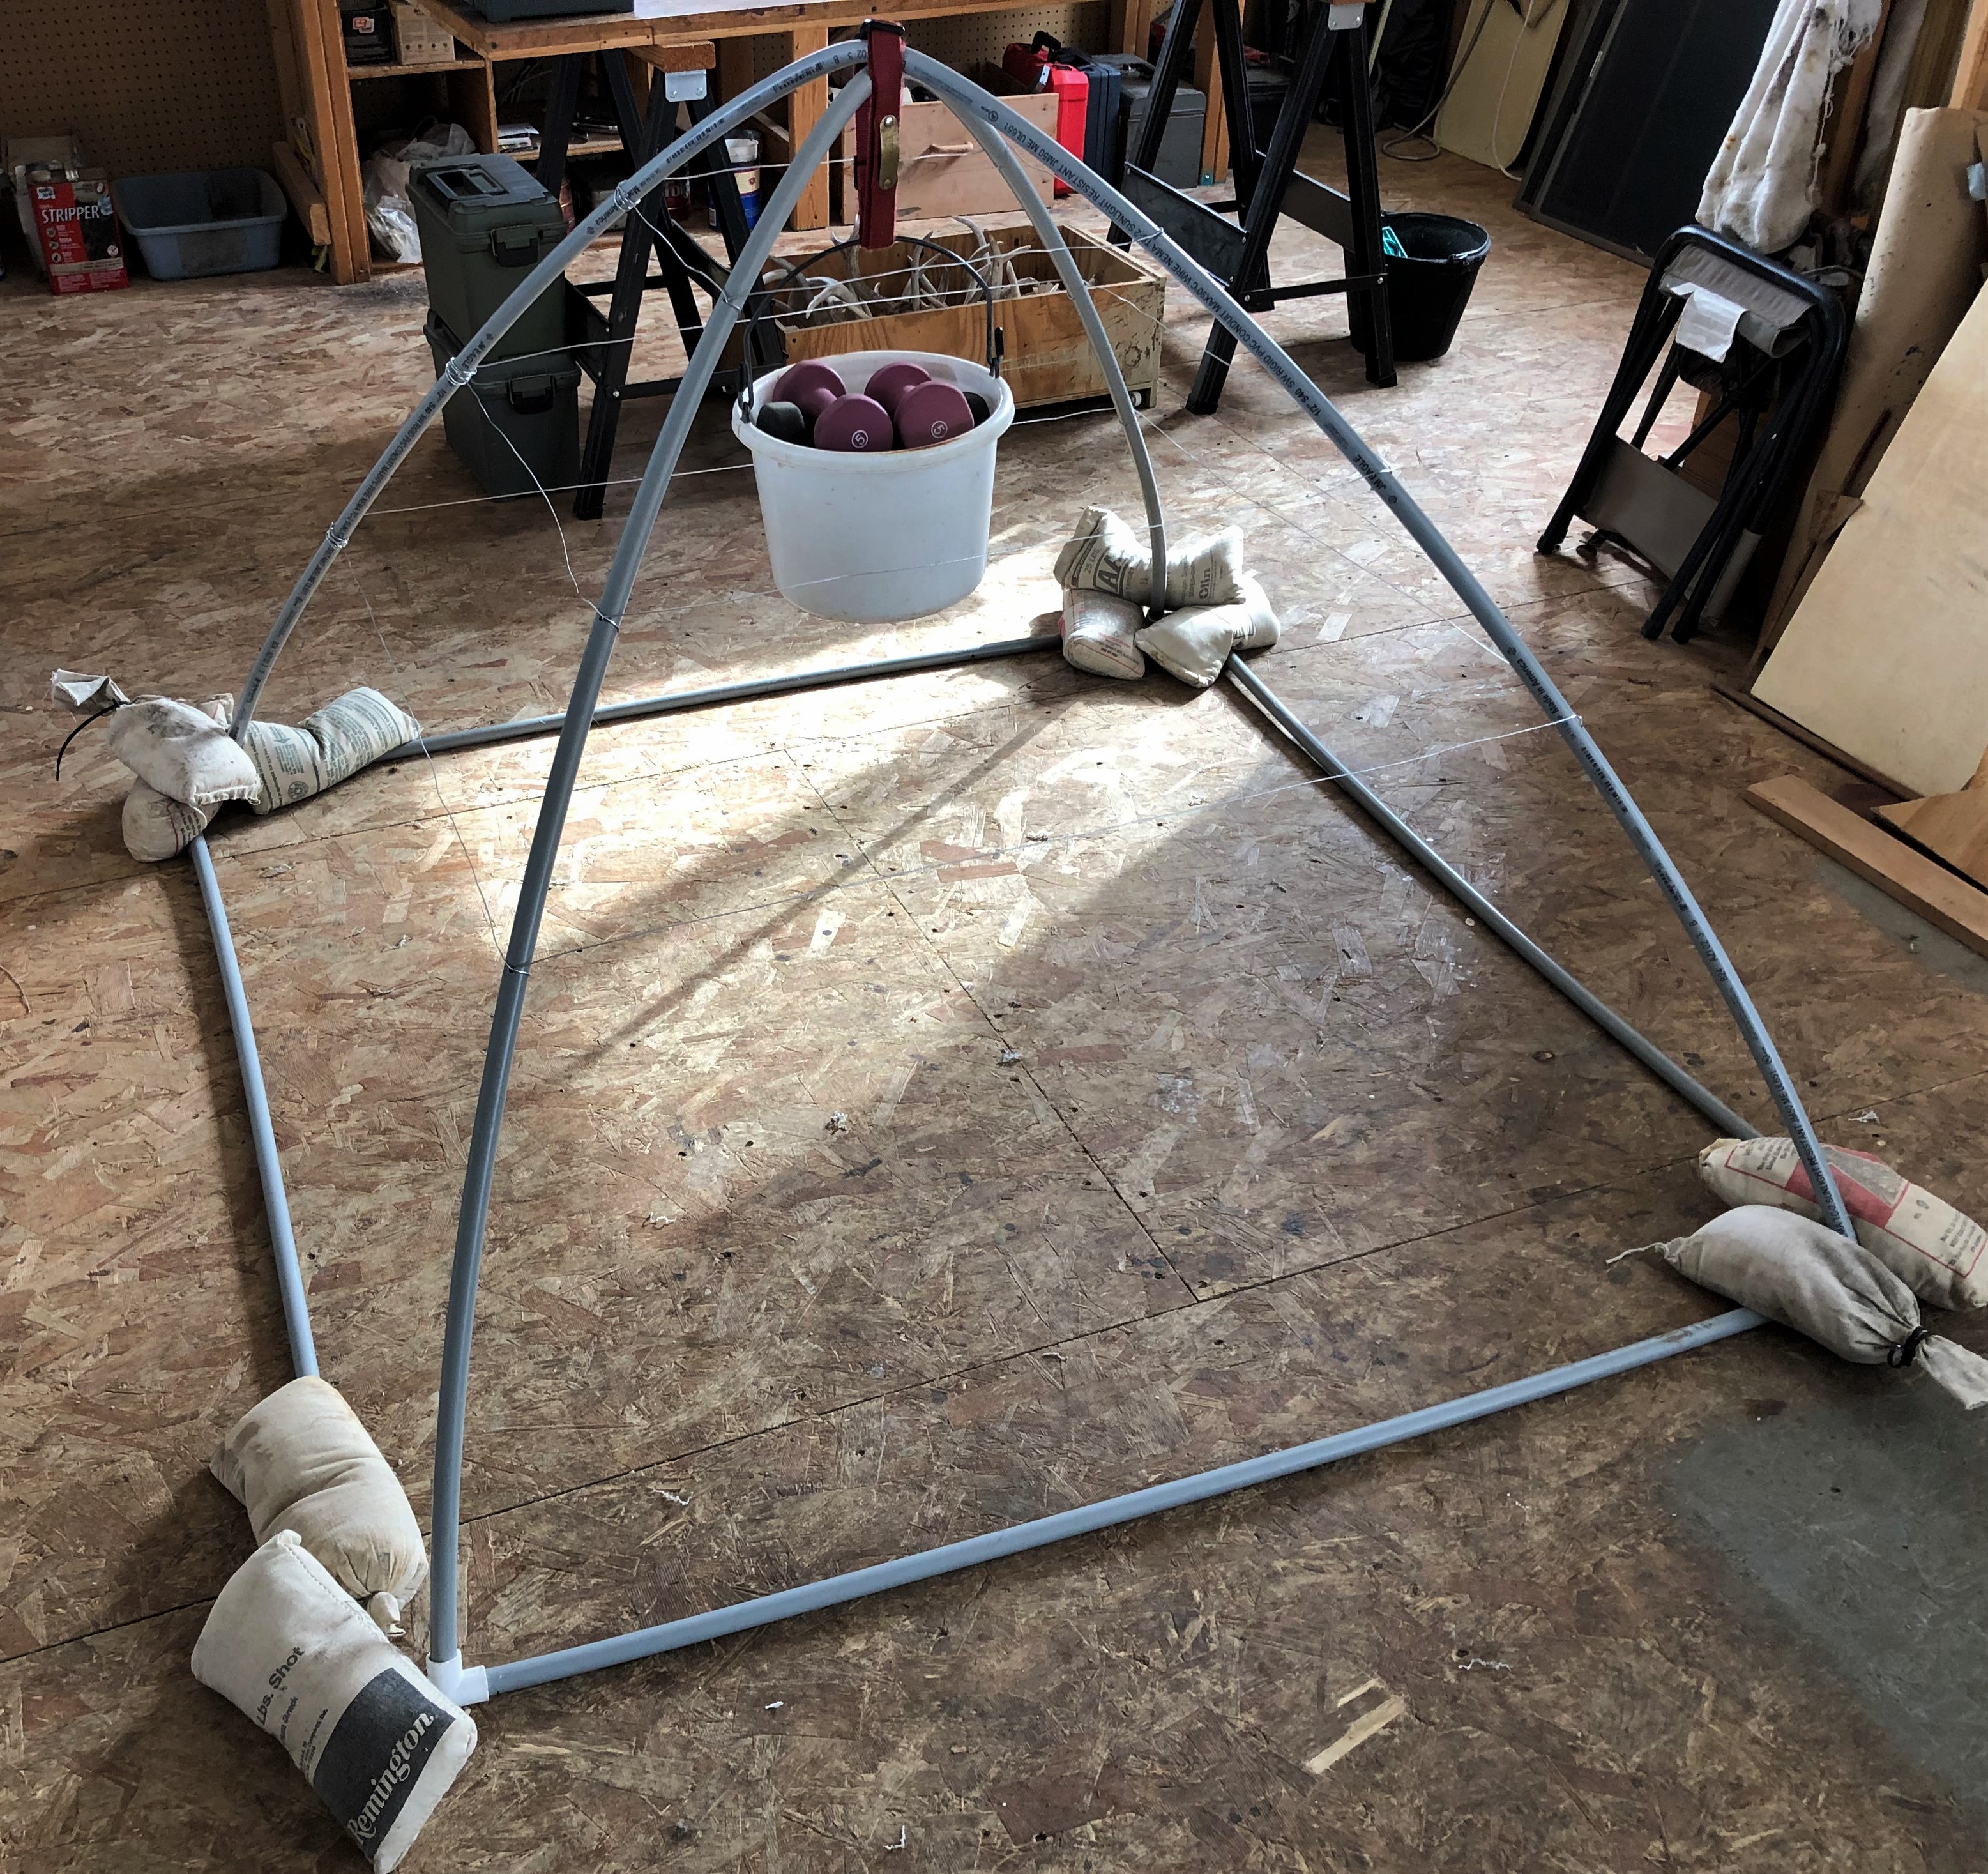
The arching PVC tubes that form the dome of the top cap will be eight feet in length. (Prototype: 10 feet.) I am contemplating a set of four arching frame pieces of PVC to support the dome rather than two. (I may regret this piece of over-engineering.)
My conjecture is that this reduction in size will create a more sturdy structure that is easier to set up and relocate. It will be somewhat less prone to wind damage and hopefully will better withstand snow accumulations. The smaller blind should fit in my pickup truck, too.
Next on the list of improvements is heating (hot to the touch) the 8-foot PVC arch frame pieces so that they become more pliable and will bend in a smooth and uniform arch. I did not properly heat them for the prototype, and they are less an “arch” than a “peak.” Not sure how I will do this without getting the local fire department involved.
The holes for the wire brace struts of the dome will be drilled at 10-inch intervals rather than 12-inch. That should help with attaching the fabric covering of the dome.
As I construct the second generation of ground blind, there will probably be a few “Aha!” moments when I discovered other design improvements. I will keep you posted.
A tip on wiring together the ground blind:
I failed to include these instructions in Step 17of my previous blog. The instructions are now edited to include this wire-lacing tip.
Step 17 – Set up the ground blind on-site
You are now ready to erect the ground blind on-site. Set the side panels upright on the long edge and wire the four of them firmly together to create a open-top box. Cross measure to make sure the box is square. Drive a tent peg into the ground at each corner and wire the frame to the pegs.
Set the cap on top of the box and securely wire it to the top bars of the side panel frames. To wire the cap and side panels together, secure the cap atop the side panels with C-clamps, then drill small vertical holes through the base frame pipe of the cap all the way through the top bar of the side panel. Drill these holes at 6 or 8-inch intervals through the superimposed pipes of the cap and side panels all the way around the blind. Insert a continuous wire down through the first set of holes, then up through the second set of holes, continuing until the cap is tightly wire-laced to the side panels. Pull the wire lacing very tight as you go. Use the same procedure to wire-lace the side panels together.
________________________________________________
